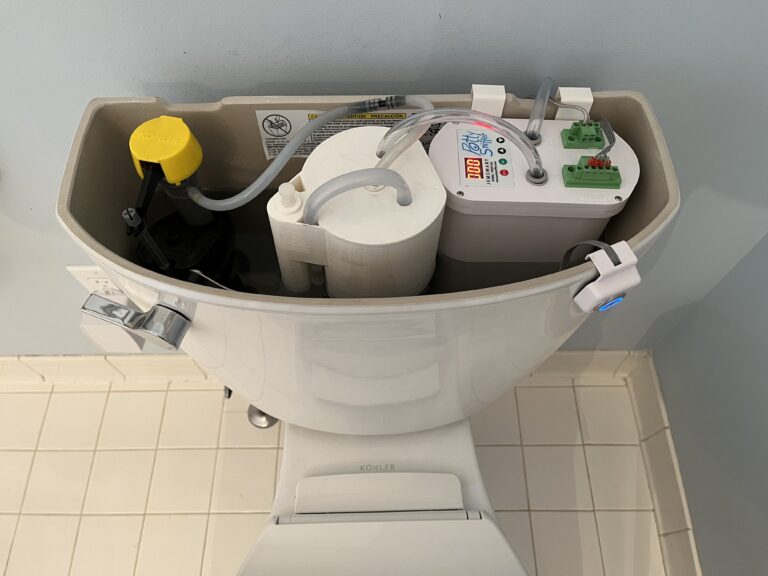
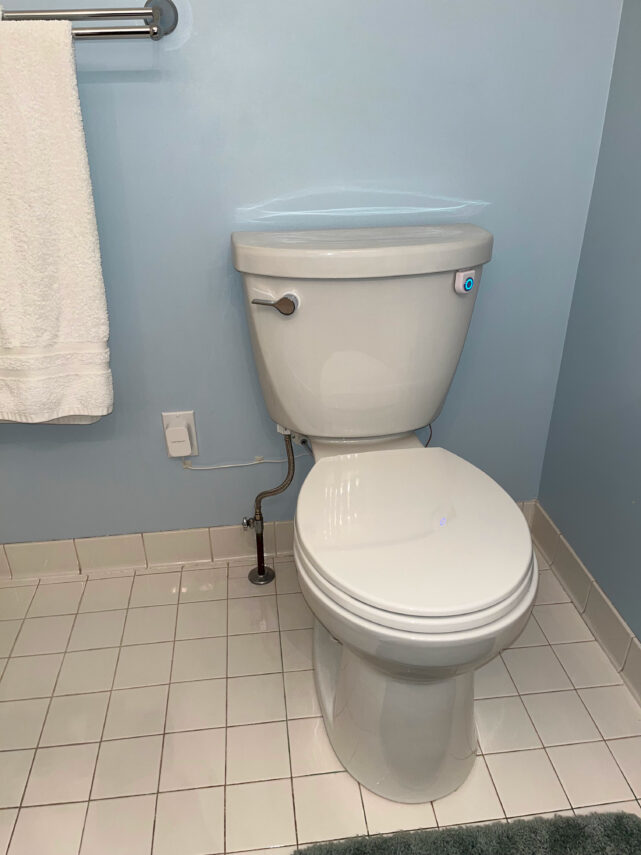
This second floor installation required a new power outlet to be installed and the air exhaust tubing to be routed in-wall up into the attic space for ventilation (since the toilet was not located against an outside wall).
For the electrical outlet, the bathroom wall was shared with an adjacent bedroom which had an electrical outlet located close to the toilet. An electronic stud finder was used to locate the existing wall studs and a 2-1/2″ electrical box cutout was made for an “old-work” style electrical box to be installed. Be sure not to locate the new box back-to-back with the existing box since there won’t be enough space in the framing gap for both. If you don’t have the necessary experience to safely perform the electrical work you should hire a qualified electrician for this part of the install.
We were fortunate to have a nearby electrical source to feed with but if one had not been available another alternative would have been to use an existing outlet in the attic space. A 25′ length of low-voltage power cord could have been run in-wall at the same time as the air exhaust tubing. Alternately, we could have also installed the Sniffer pump remotely in the attic and run a signal wire for the push button switch to the toilet tank. So there were actually a few options available to us even though the installation task for this toilet may have seemed daunting at the beginning.
For routing the tubing to the attic, a 1″ diameter hole was drilled through the drywall behind the toilet bowl. The upper stud of the bathroom wall framing then had to be located in the attic. Measurements were taken using the bathroom exhaust fan as a point of reference to determine where the upper stud needed to be drilled to correspond to the same wall channel as where the 1″ hole was located. A 3/4″ spade drill bit was used to bore the pass-through hole through the upper framing stud. String was fed down into the hole and was fished through the 1″ access hole in the drywall with a wire hook. A small hole was drilled into the tubing for the string to be securely tied after which the tubing could be fished up through the wall and into the attic.
A 3/8″ hole was drilled into a nearby sanitary vent pipe and a Potty Sniffer sanitary pipe vent saddle fitting installed. Additional air exhaust tubing was pulled through the wall and into the attic to complete the connection to the exhaust fitting.
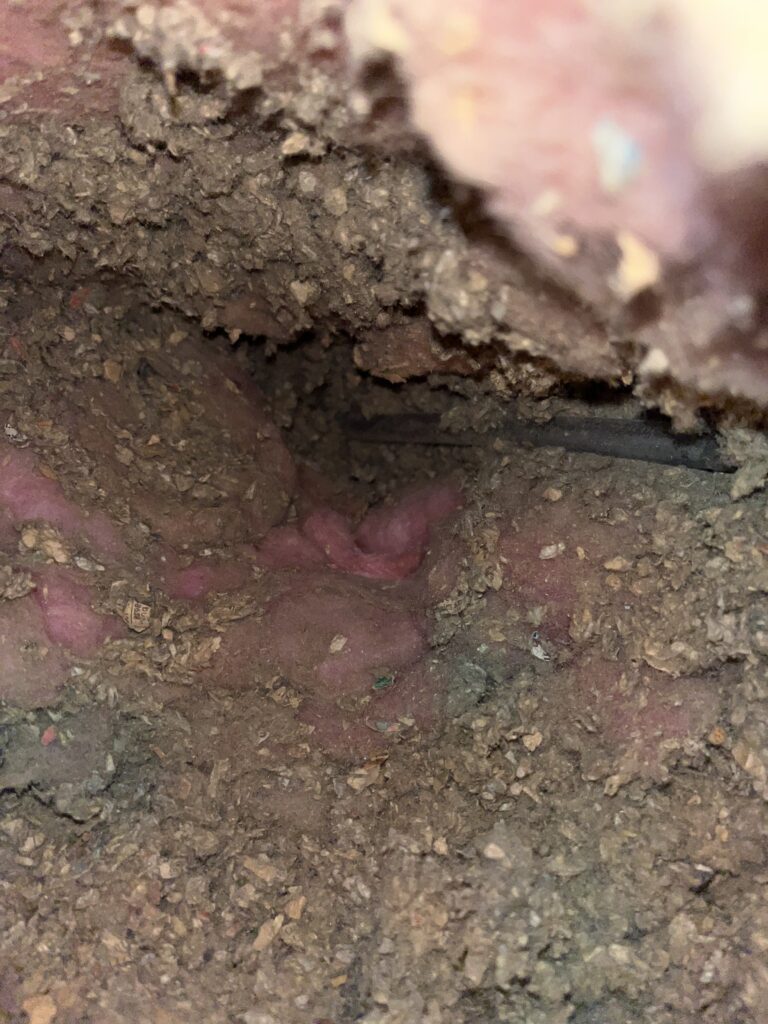
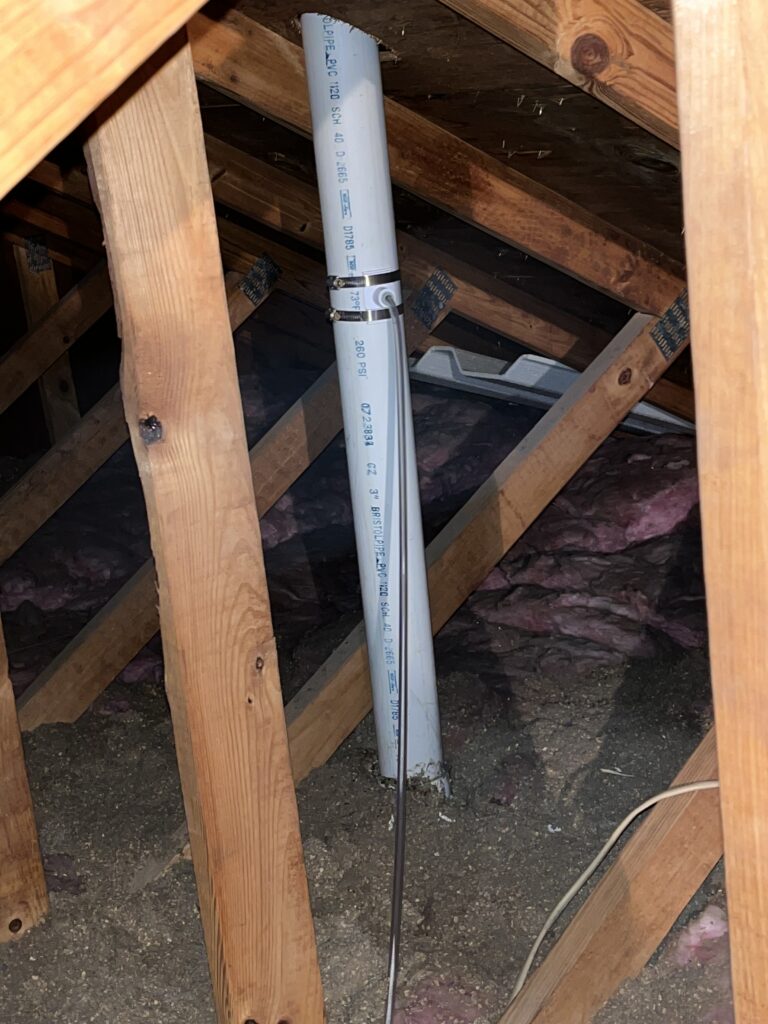
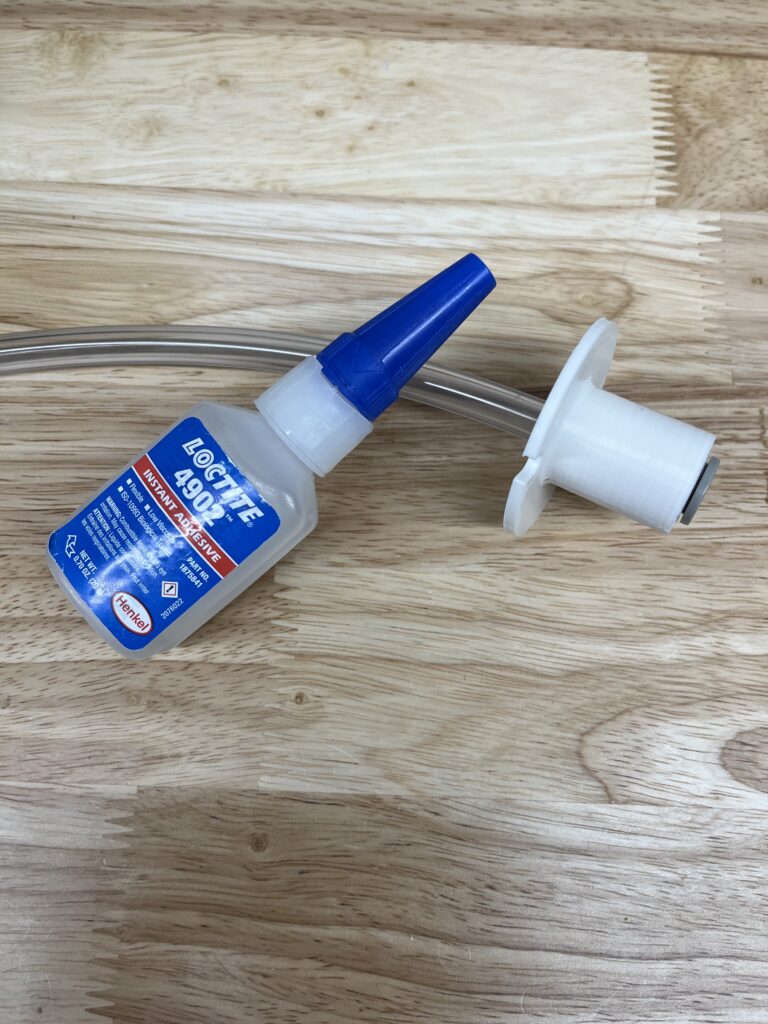
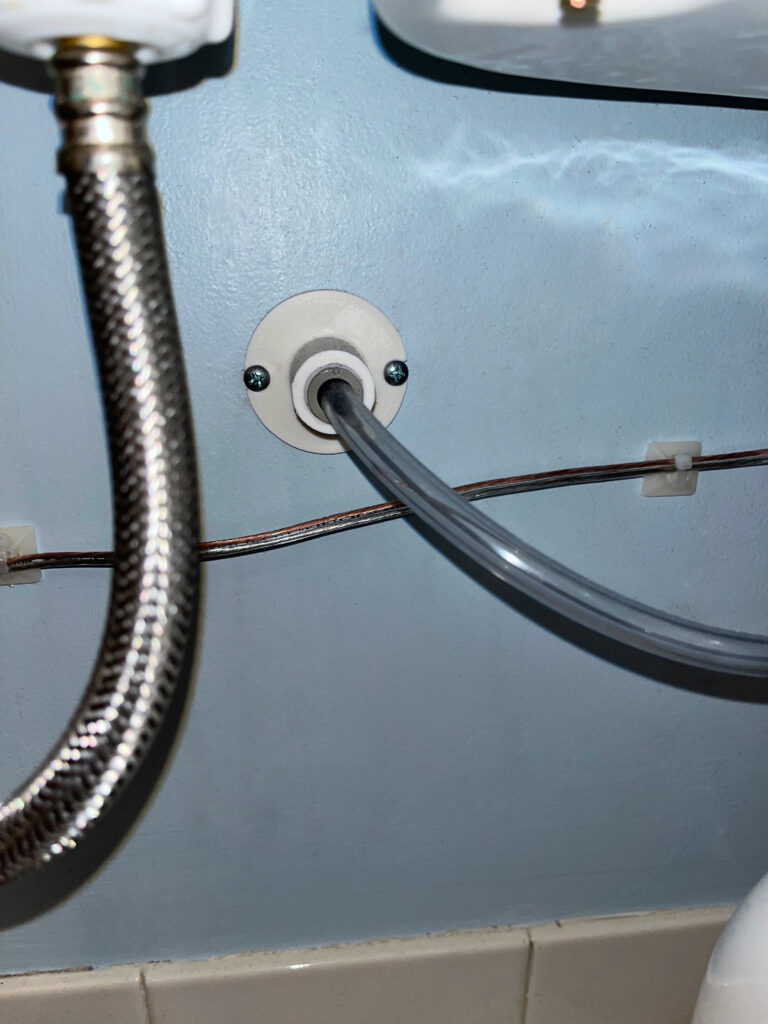
To finish the tube routing, a through-wall exhaust fitting was used as a tubing connection receptacle. The 3/8″ air exhaust tubing in the bathroom was cut leaving about 12″ excess tubing extending from the 1″ access hole. The tubing was then attached to the through-wall fitting using super glue (cyanoacrylate) adhesive to permanently secure and seal the connection. After a few minutes of drying time, the through-wall fitting was attached to the wall using the supplied wall anchors and mounting screws.
This particular toilet is a Kohler model equipped with a canister style flush valve, so a Potty Sniffer kit with a canister style air intake manifold was needed for this install. The straight barb connector included with the install kit was used to connect the intake manifold refill tube to the original refill tube.
