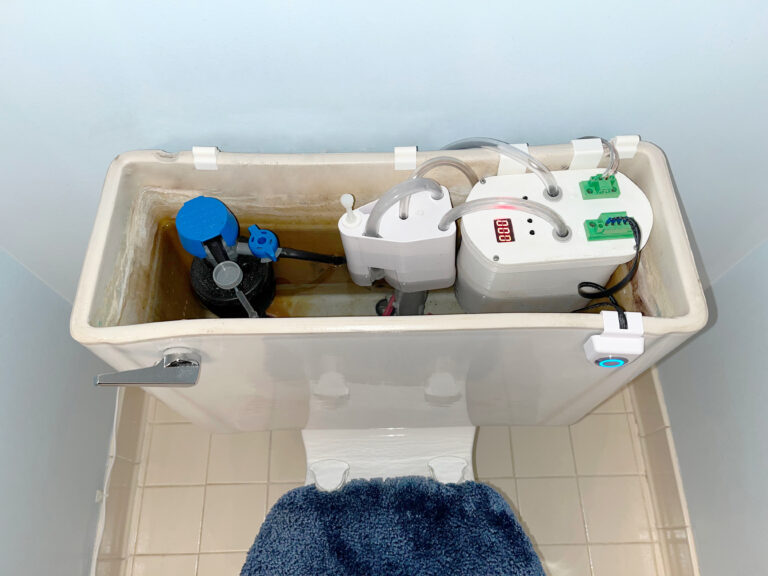
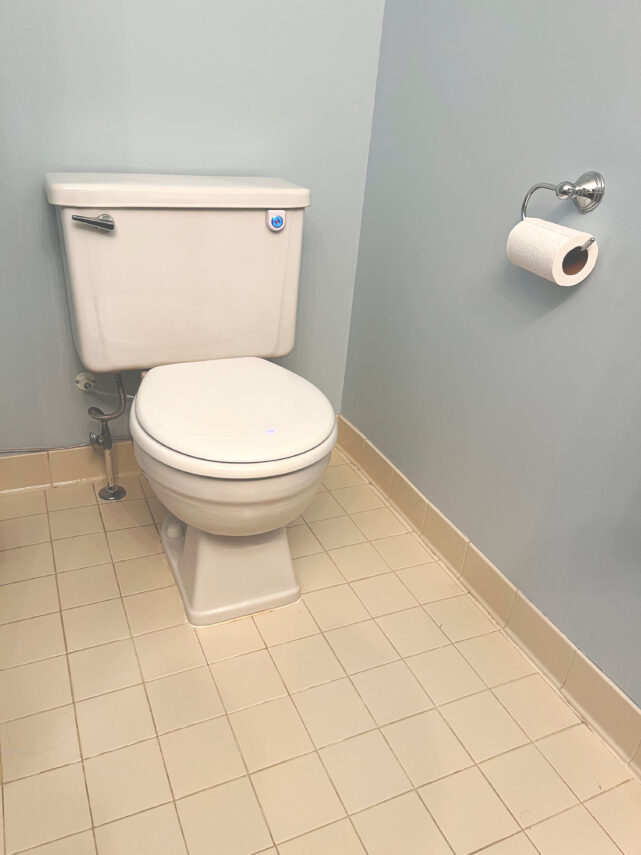
This bathroom was located on the second floor with the toilet installed against an outside wall. The toilet was an older model (most likely an original bathroom fixture from the home’s construction in the late 1980’s) so the first thing that had to be done was to swap the original fill valve (which used a floating bulb arm) to a newer compact fill valve with an integrated float actuator. The plastic overflow pipe was also too tall and needed to be cut shorter to stop 1″ above the regular fill level of the tank. This was done in position with a rotary tool and cutting wheel attachment.
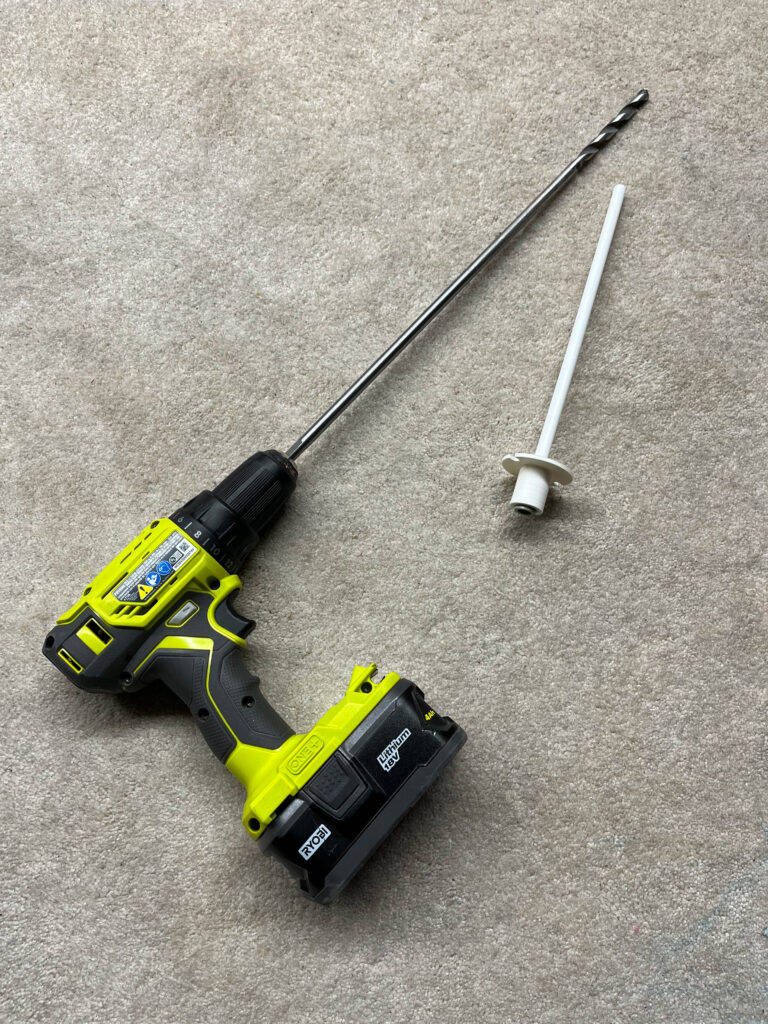
Since the toilet is on an outside wall, the simplest solution for air exhaust was to use the through-wall exhaust fitting. An 18″ long, 3/8″ diameter installer’s drill bit was used to drill through the wall section just behind the toilet. The overall thickness of the wall section was approximately 8″ and includes the inside drywall, framing/insulation space, sheathing, outer insulation, and exterior siding.
Since the PEX pipe of the fitting is exactly the same diameter as the drill, the hole was enlarged slightly by reaming open the hole diameter with a few extra passes of the drill bit. The through-wall fitting was then inserted through the wall section and fastened in place using the supplied wall anchors and screws.
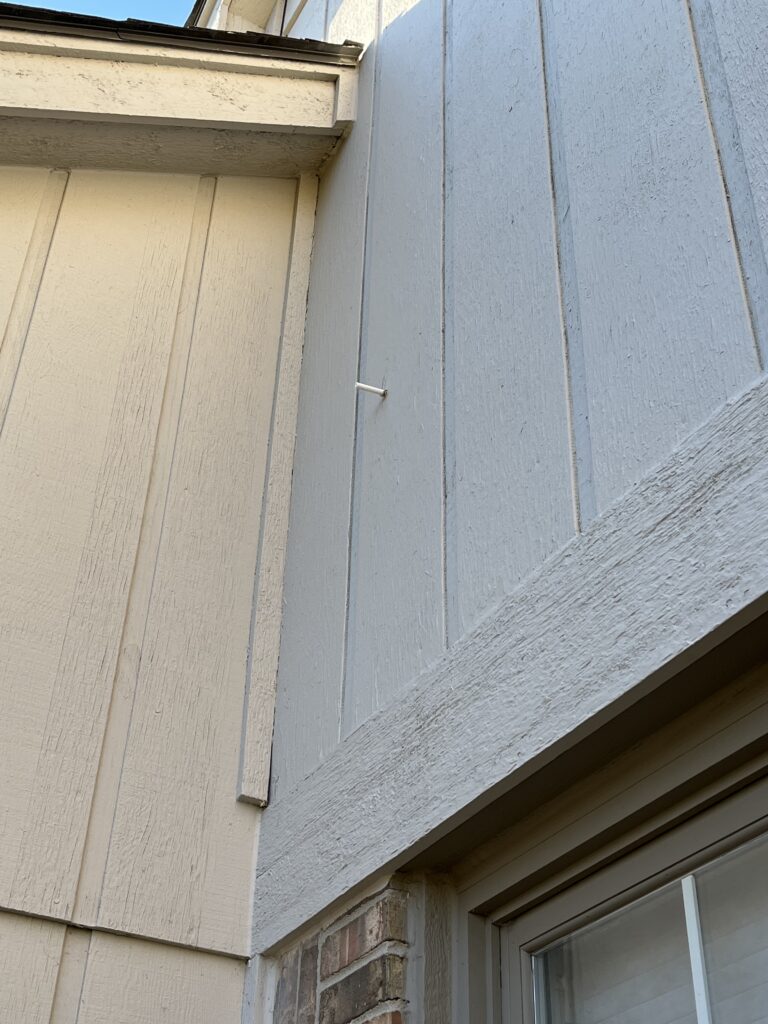
After install, the excess PEX may be trimmed to 1/2″ stick out and sealed with caulk around the hole. In this case, the stick out of the through-wall fitting was in an inconspicuous location at the side of the house and behind the garage, so was just left as is.
For power, there was an existing bathroom fan switch on the wall next to the toilet that was used as an electrical feed for a new wall outlet. The outlet was located directly beneath the switch in the same wall framing channel and using an old-work style electrical outlet box.
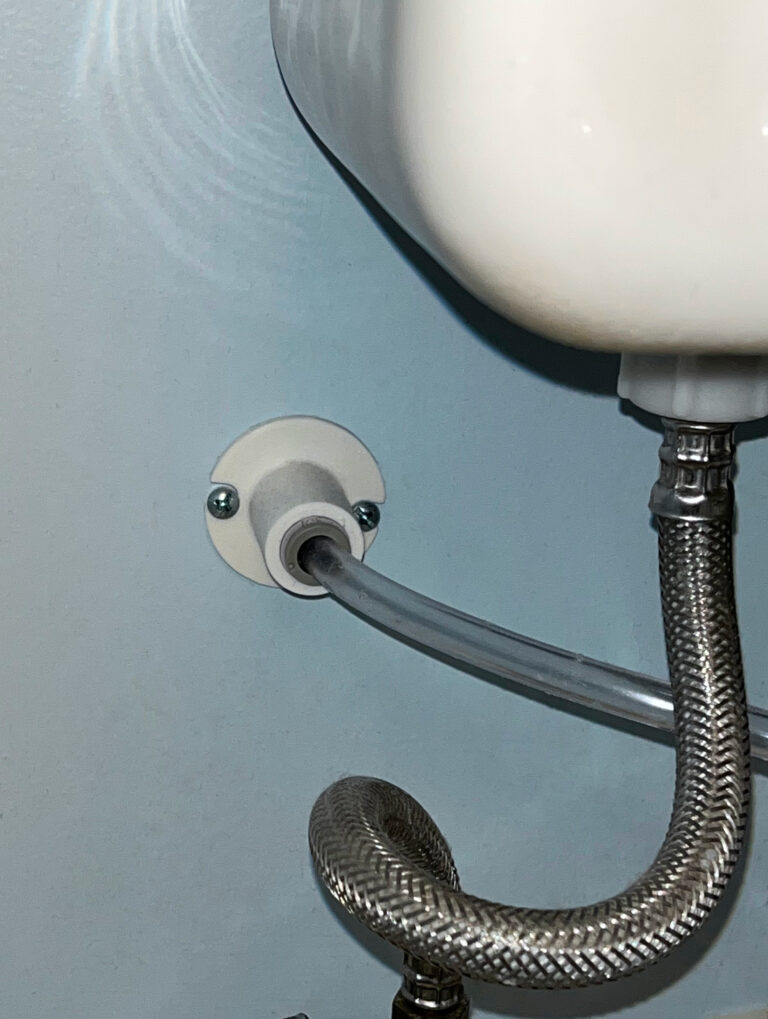
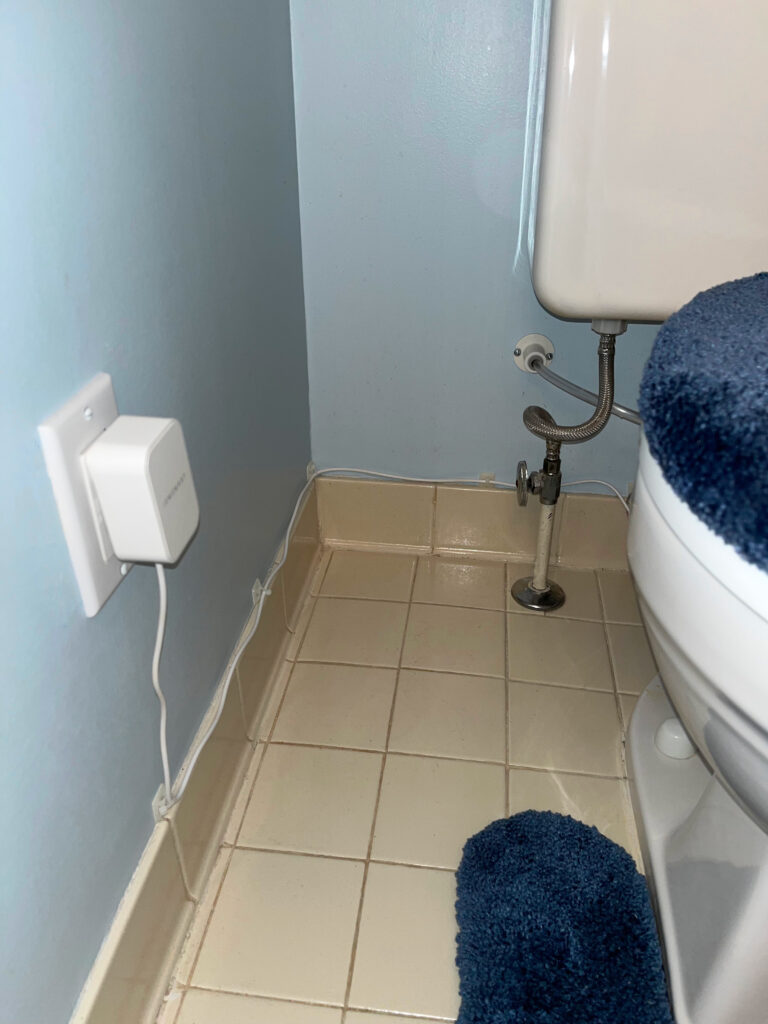
The final installation required the intake manifold to be turned so that it would not interfere with the motion of the flush handle lever during flushing.
